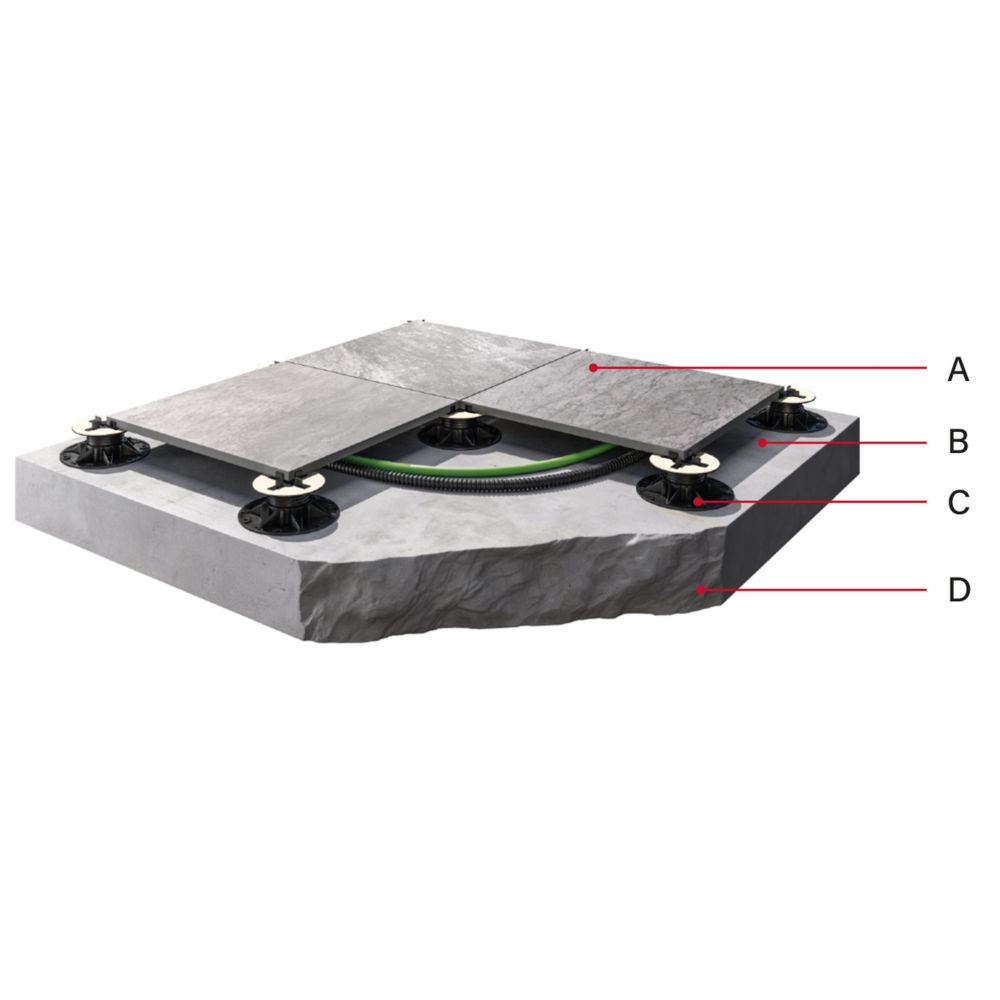
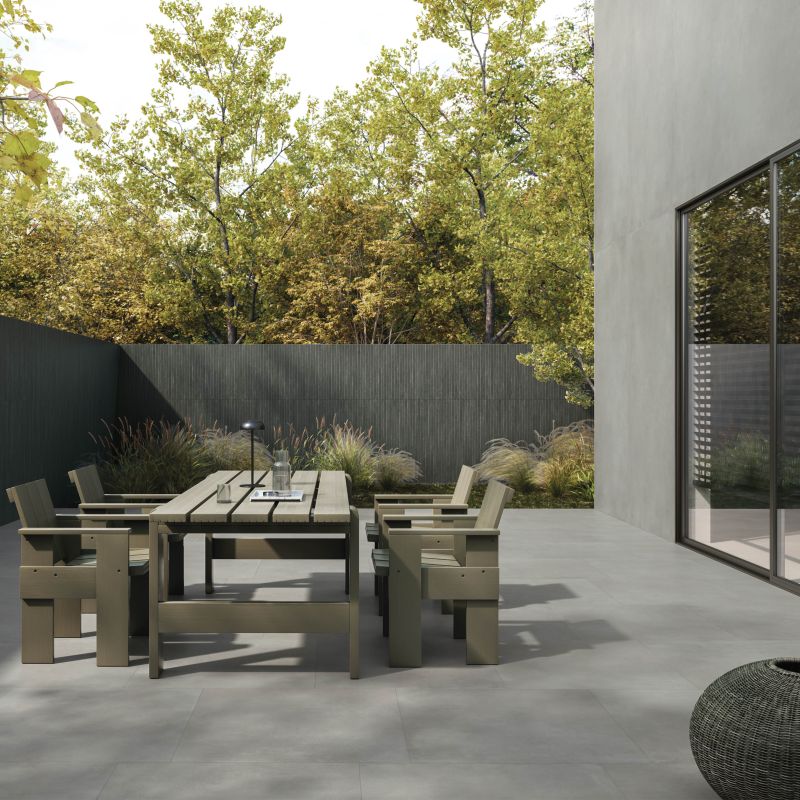
A. OPEN®
B. Waterproofing membrane
C. Supports
D. Screed
1
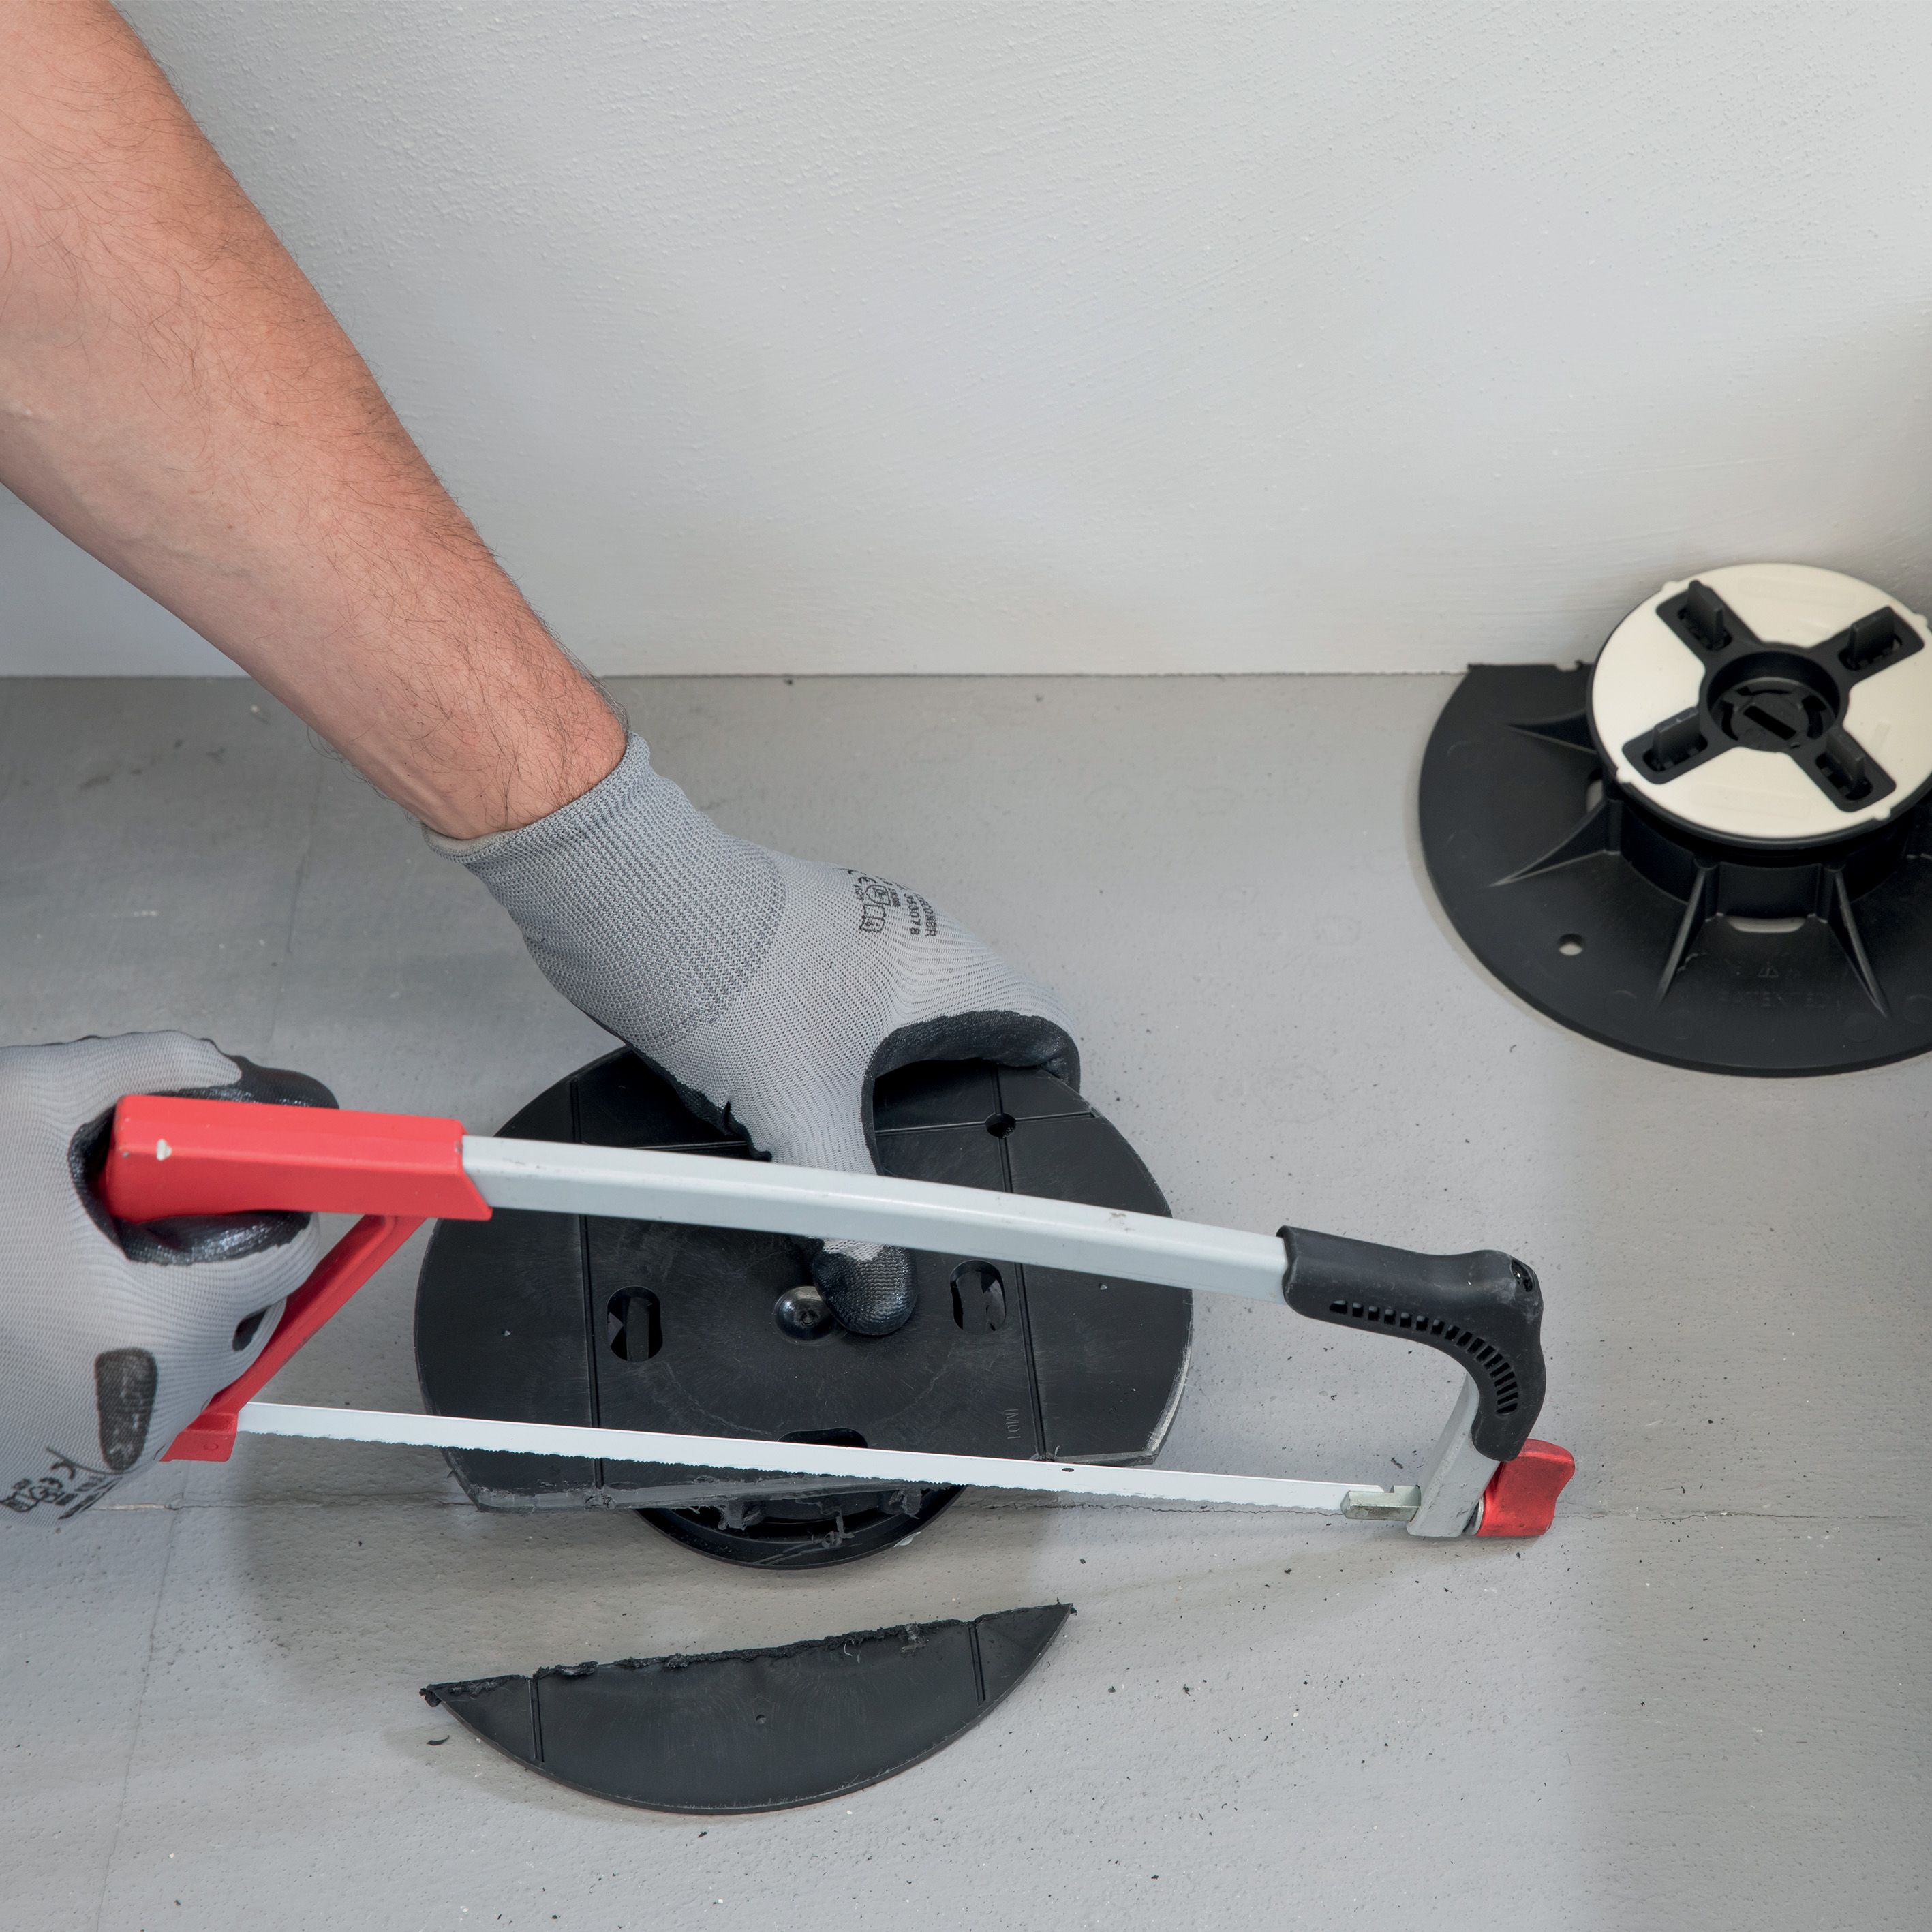
Clean the existing surface and check the flatness of the screed to identify the appropriate support to use. The screed must be dry and cured. Prepare the selected supports by cutting the perimeter supports to size and removing any unnecessary tabs.
2
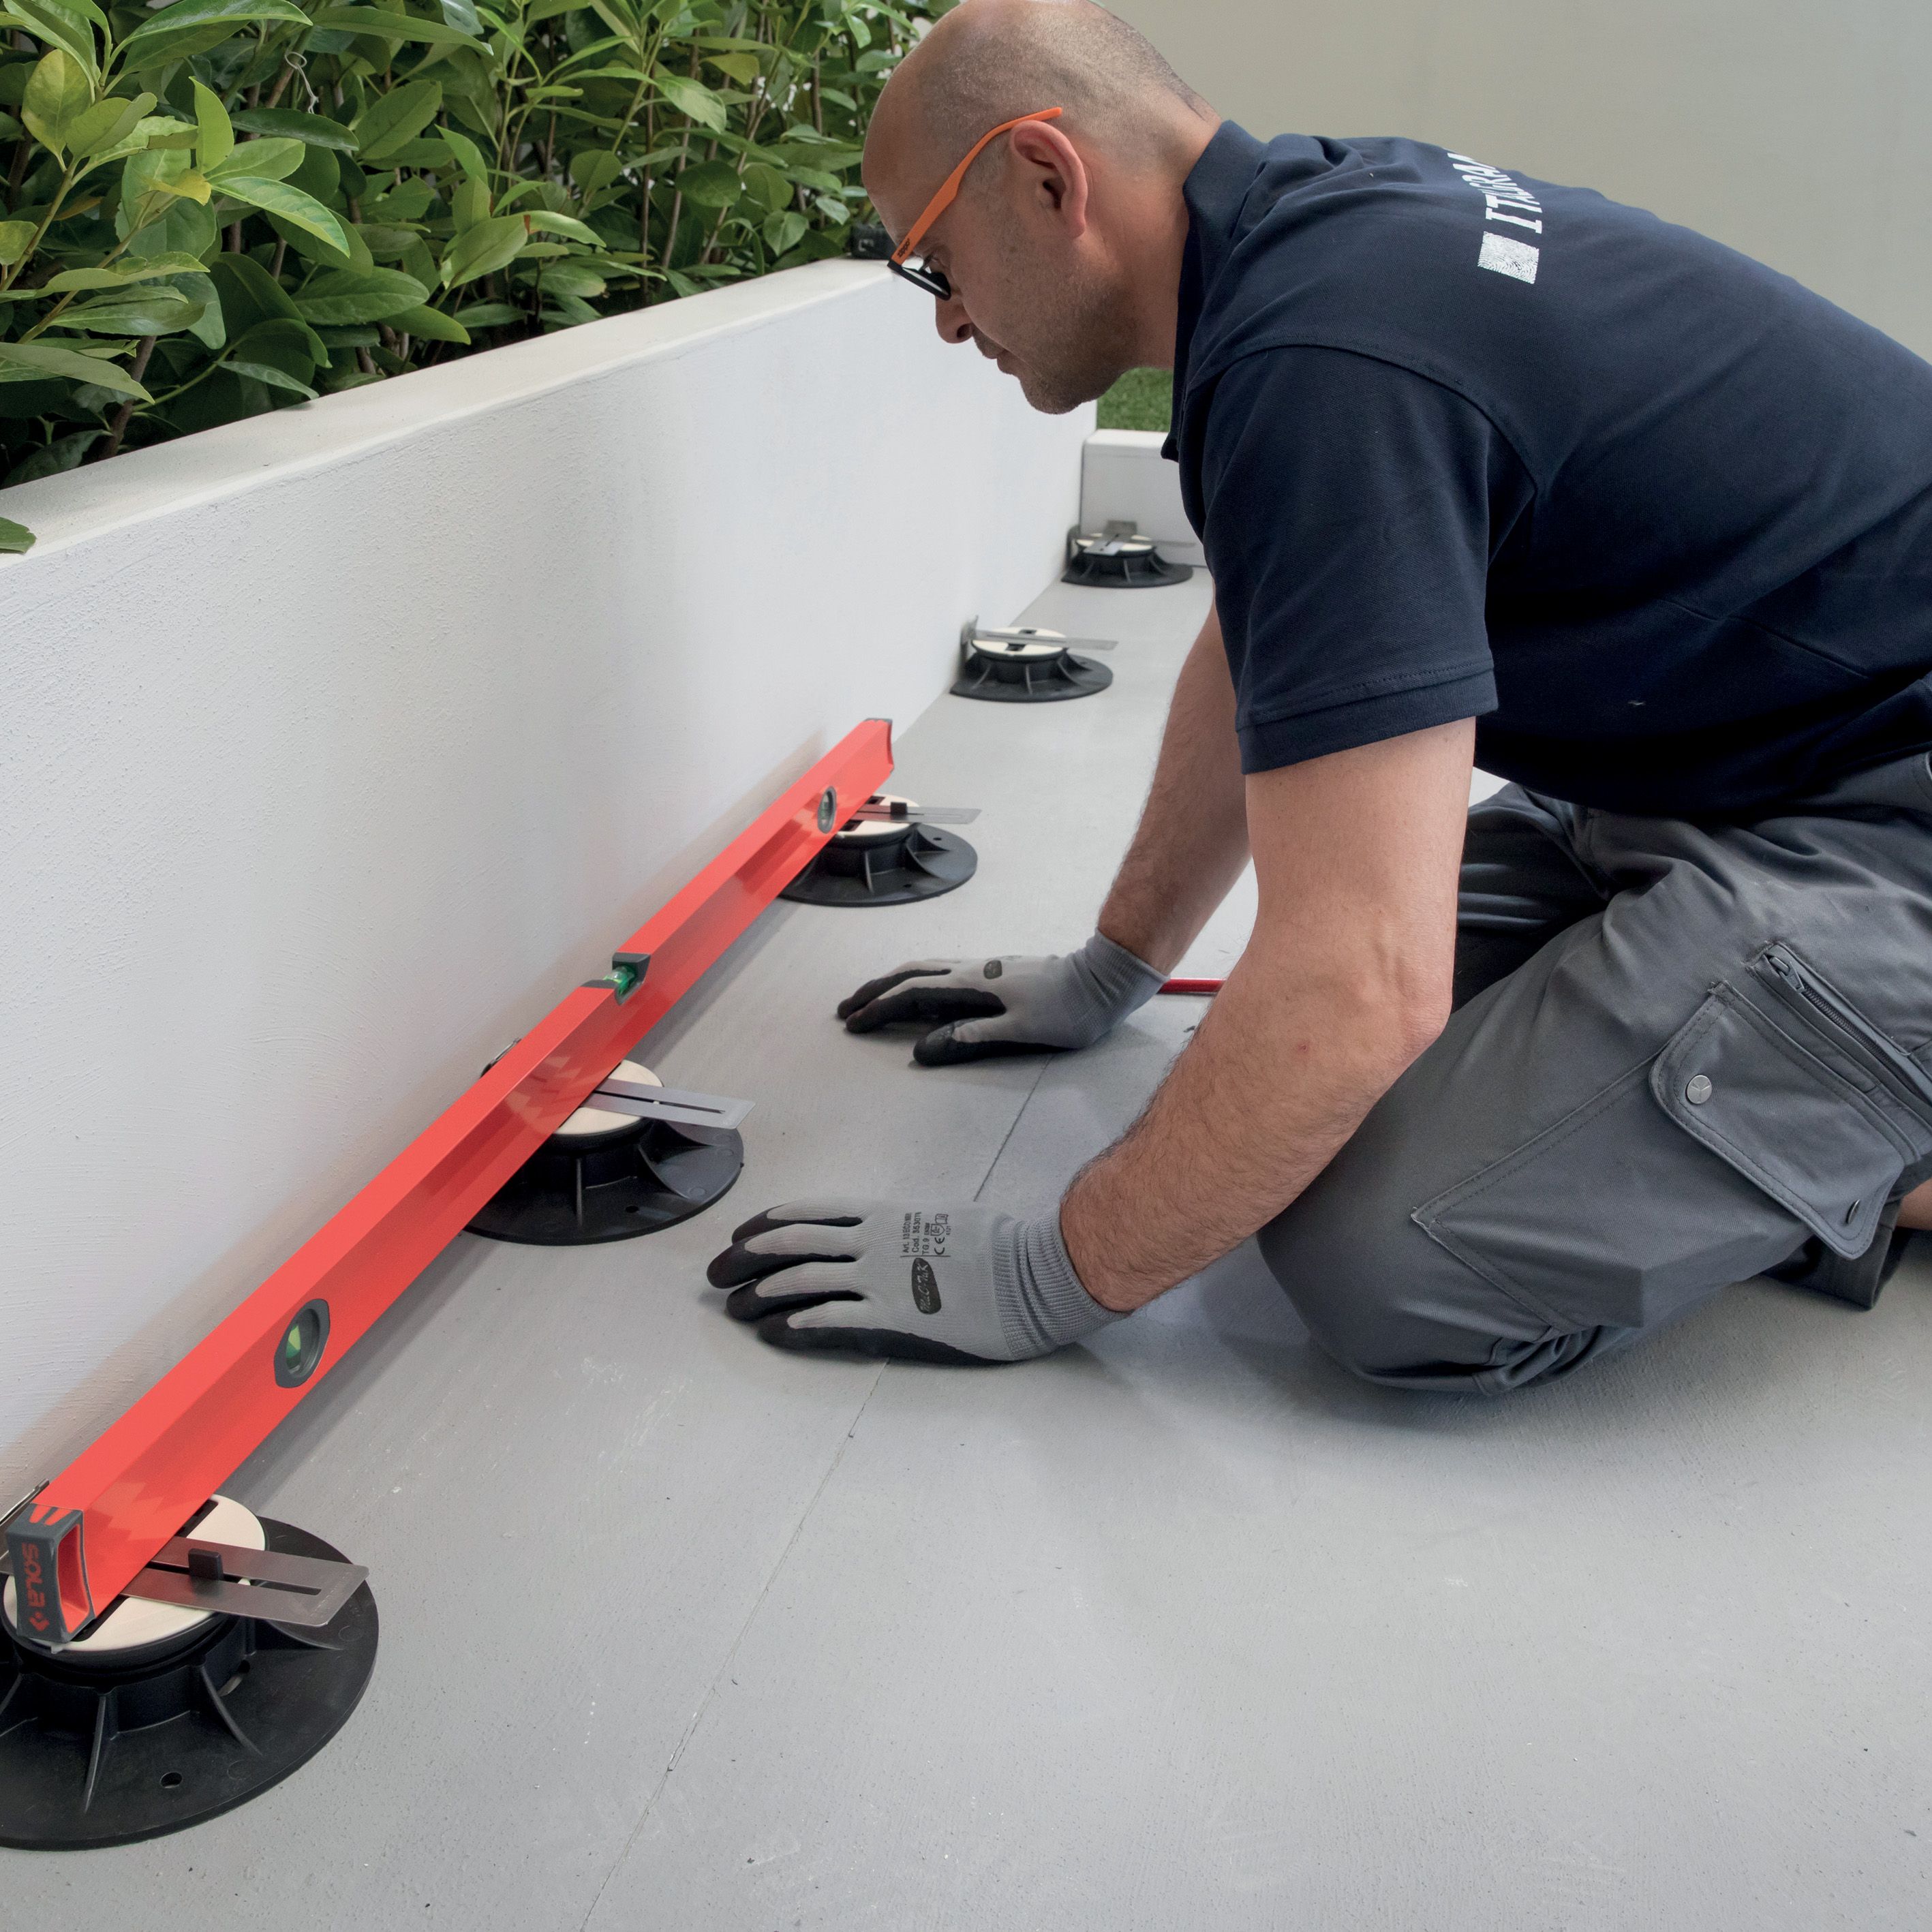
Lay out the grid of supports based on the installation plan, starting with the perimeter ones. Place the tile edge protection clips on the supports in contact with the walls.
3
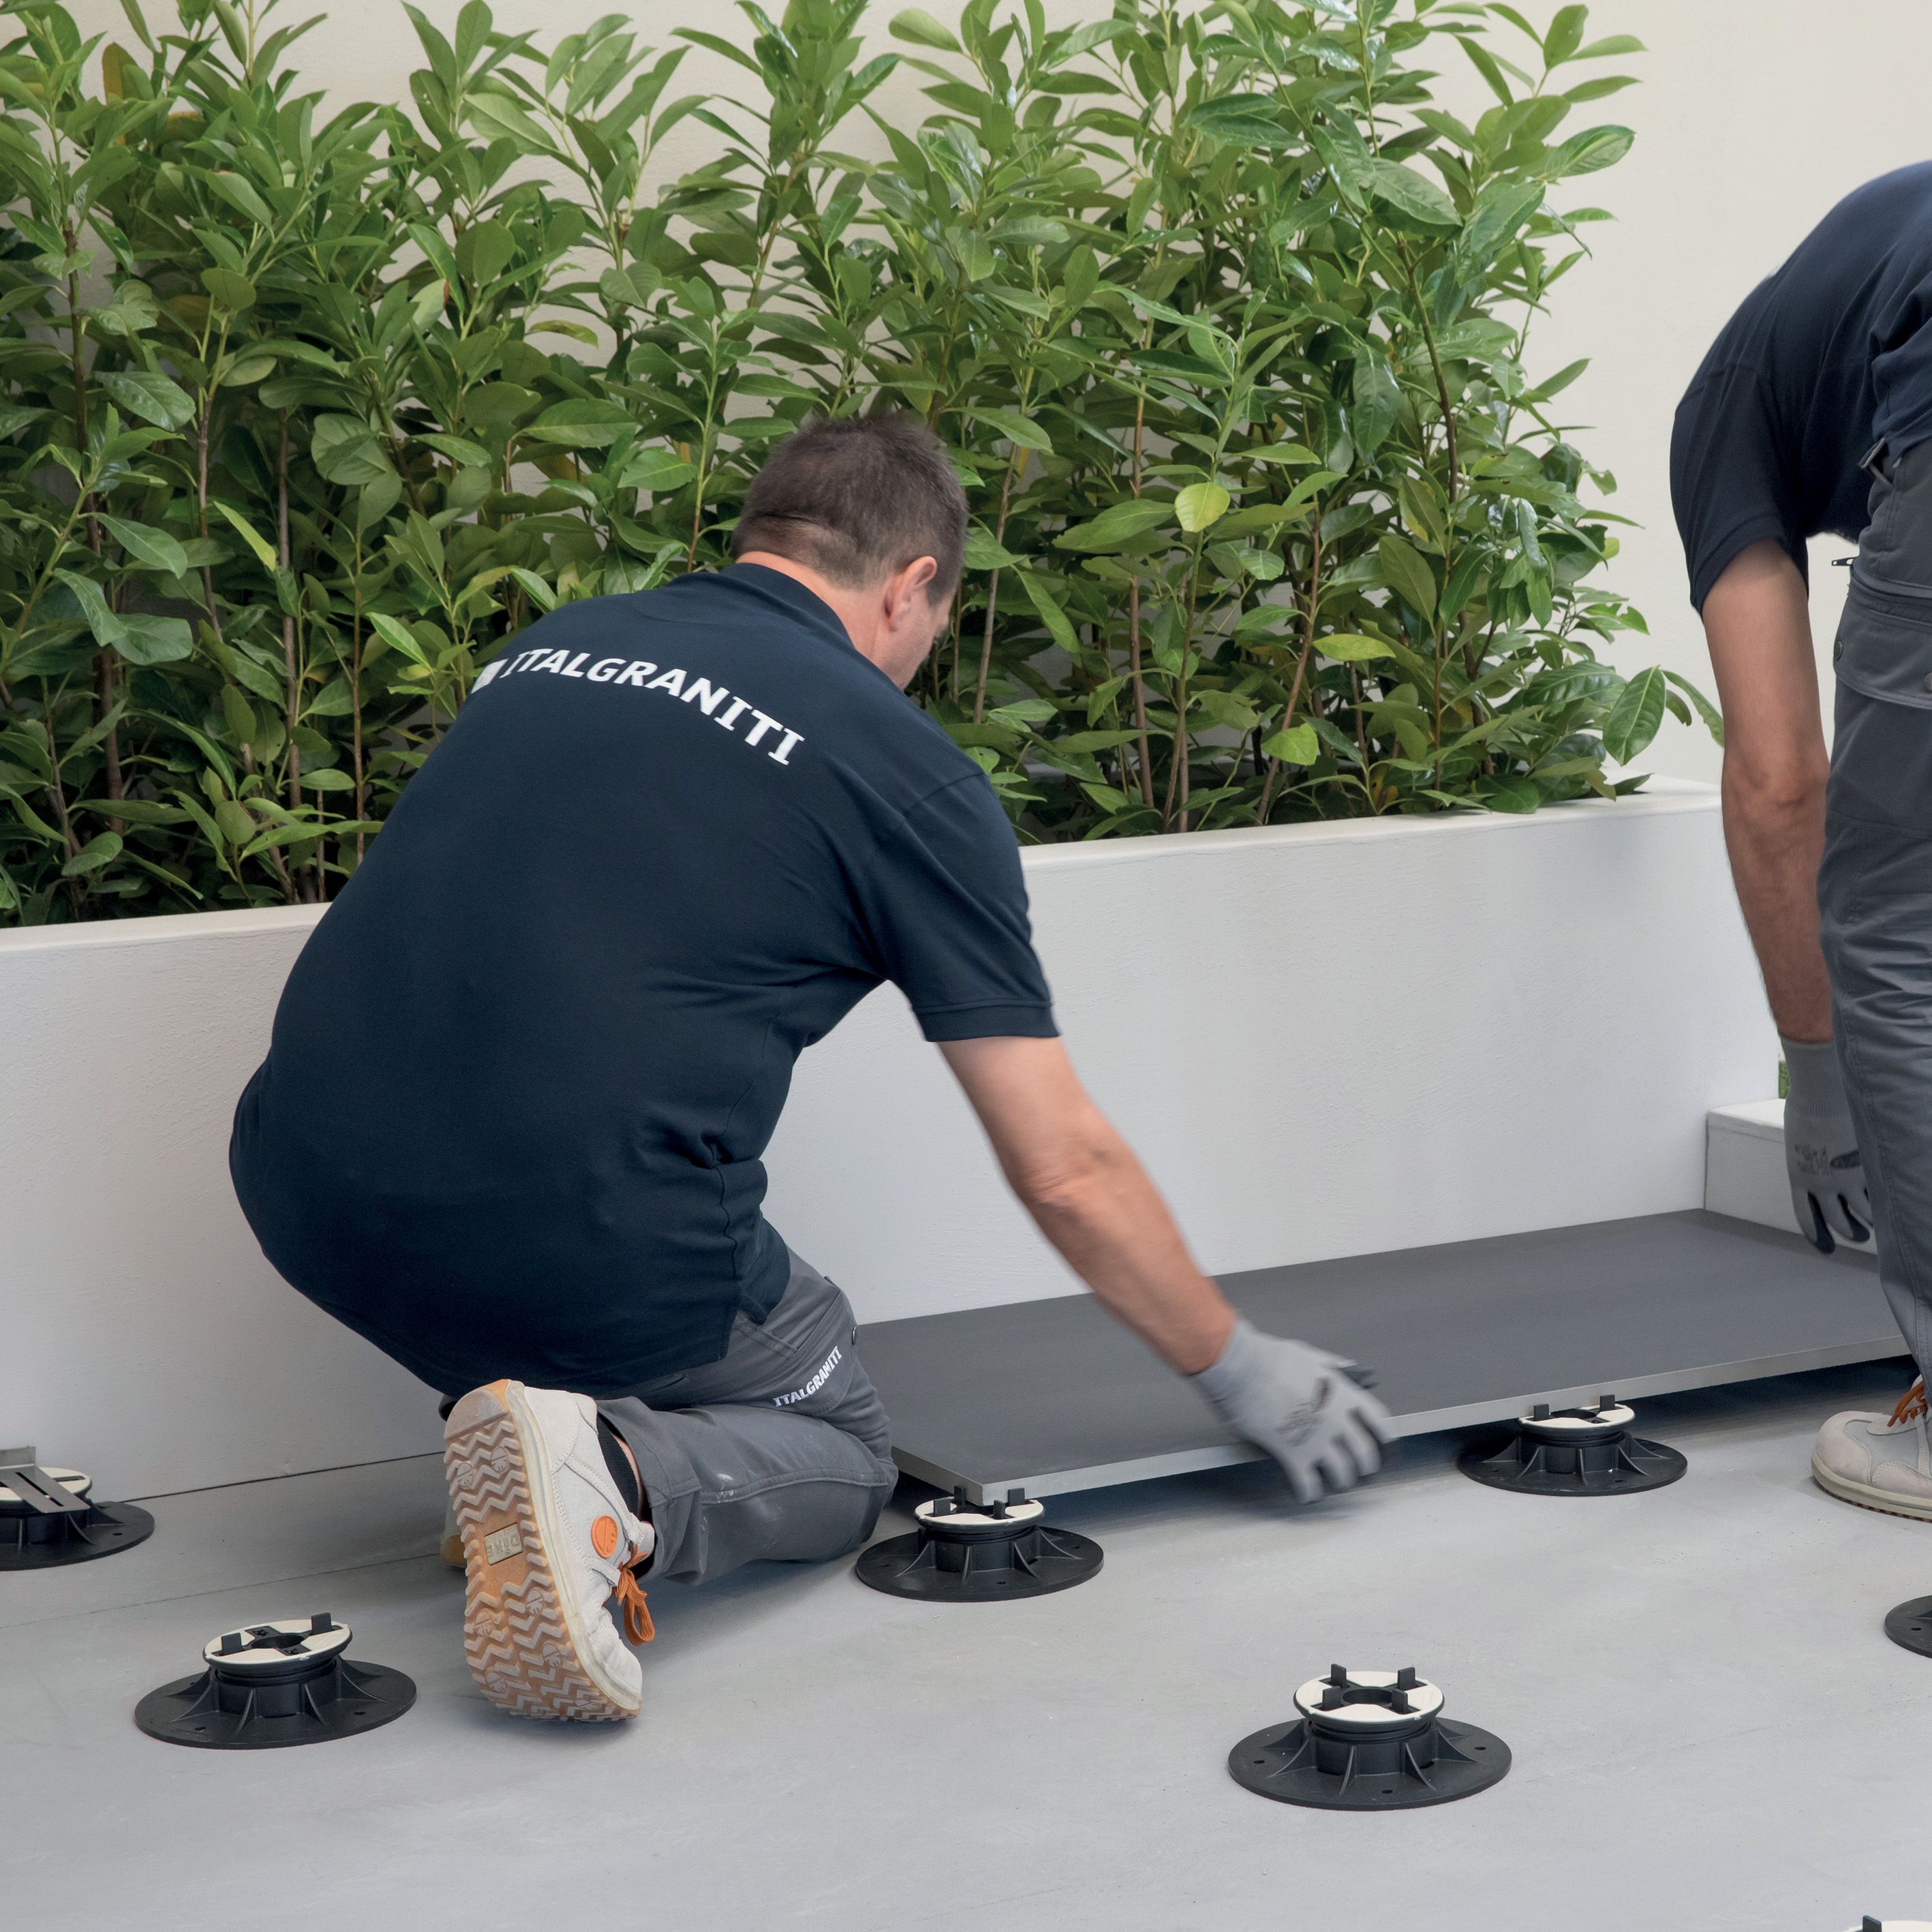
Place the slabs dry on the supports. Add a support at the center of the slab, removing the spacer tabs. Systematically check the flatness and adjust the support heights with the appropriate adjustment key to compensate for any irregularities in the subfloor. It is recommended to provide suitable slopes to reduce the risk of water stagnation.


© ITALGRANITI GROUP S.P.A.
Via Radici in Piano, 355
41043 Formigine - Modena - Italy
C.F. / P.IVA 03294200369
Tel: +39 059 888411
Fax: +39 059 848808
Contact us
Via Statuto 21
20121 Milano - Italy
tel: +39 0284567687
This email address is being protected from spambots. You need JavaScript enabled to view it.